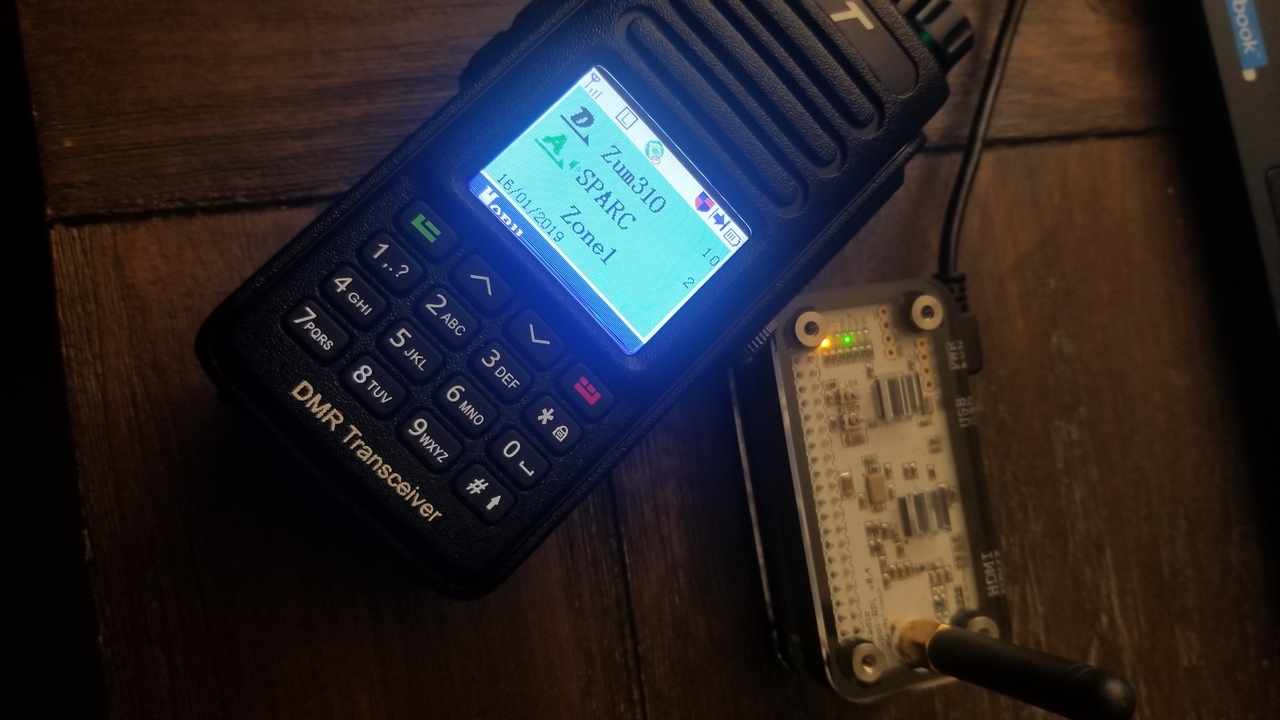
I recently decided to expand my digital capabilities beyond D-Star and decided to purchase the TYT MD-UV390 VHF/UHF dual mode FM/DMR HT with GPS along with a ZumSpot hotspot from Ham Radio Outlet. The Zumspot is based on the Raspberry PI-Zero and MMDVM project. I couldn't be happier with this combination, which will get you on DMR for under $300.

The TYT MD-UV390 dual band radio lists for about $150 and comes with the programming cable / software and additional high-gain antenna. The manual and documentation is a bit rough, but once you understand the programming principles is pretty easy to get going. The ZUMSpot comes pre-loaded with Pi-Star and is a snap to setup if you've already registered for the appropriate digital ID's. There are plenty of guides online on how to setup Pi-Star, but if anyone has questions, I'll be happy to answer them.
Once you order your radio, you'll need to register your callsign to get a DMR ID, which is done at https://www.radioid.net. After you receive your ID, it's a good idea to also register with the Brandmeister network at https://brandmeister.network/. You'll use this ID in both the radio and Zumspot setup.
When programming the radio, remember you need to first add Talk Groups as Contacts, then add frequencies with whatever talkgroups you want to use on those frequencies as individual channels, then add the channels to Zones. For your Zumspot, you'll probably want to program a bunch of different talkgroups for the same Zumspot frequency, which means you need a unique channel assignment for each. Don't forget to program an UNLINK channel, as well. In the Zones assignments, you can assign different channels to the A or B vfo, as desired. On mine, I programmed DMR channels on VFO A and analog channels on VFO B, but you can do whatever you like.
One last step to complete the configuration is the import of all of the Amateur Radio DMR IDs, which includes their callsign and location. Doing this step makes the calling station's info show on your HT's screen. The easiest way to do this is to download N0GSG's Contact Manager, which has a function to download the latest database and then export to CSV. Then you use the MD-UV390 CSP software to import the CSV an write to your radio. The software can be found here: http://n0gsg.com/contact-manager/. You will wand to update this database from time to time to get the latest registrations.
Once you've setup your radio and configured Pi-Star, you're ready to go! The ZUMSpot uses a micro USB for power so you can take it anywhere, powering it with a cigarette lighter adapter or even a small cell phone battery backup. Configuring the ZUMSpot to use your cell phone hotspot as the network makes this setup truly portable. Hook this setup to some of the massive crossmode reflectors and you can talk to stations on DMR, D-Star, YSF, P25, NXDXN, AllStar and Echolink all over the world. It really is a lot of fun.

