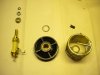
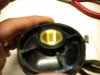
I managed to pull the cover off of the 5000 coil and this is what i found ( See rest of thread )
Last edited by a moderator:

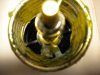

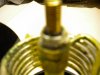
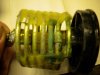
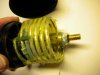
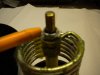
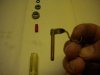
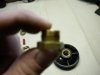
well, im got to make an attempt at re-building this load. after carefull inspection it would seem that the corrosion is comming from the copper coil which leads me to beleive that it may be due to poor plating procedures....i.e thin plate and or poor surface perperation....
i will post more as i go along with it.
Two things I would consider at this point:
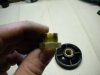
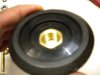
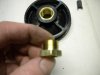
1. Find a way to machine a small round groove at the top on the inside of the plastic housing where the stud sticks through the top. Putting a small o-ring would seal off the top. Grease the o-ring generously too. You can get that o-ring from an automatic transmission shop; they will probably just give it to you.
2. After re-assembling the base, leave the stud loose enough to fill the base load with mineral oil. This will keep corrosion out, let you know if it is leaking anywhere (where water could have also intruded), and this could even raise the capacity for power handling too.
Just some thoughts. . .
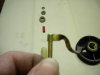
i have never seen one turn green like that before and i have opened a few .water got into one of mine too but no green like that .thats pretty sick .
was this a barjan made coil maybe??